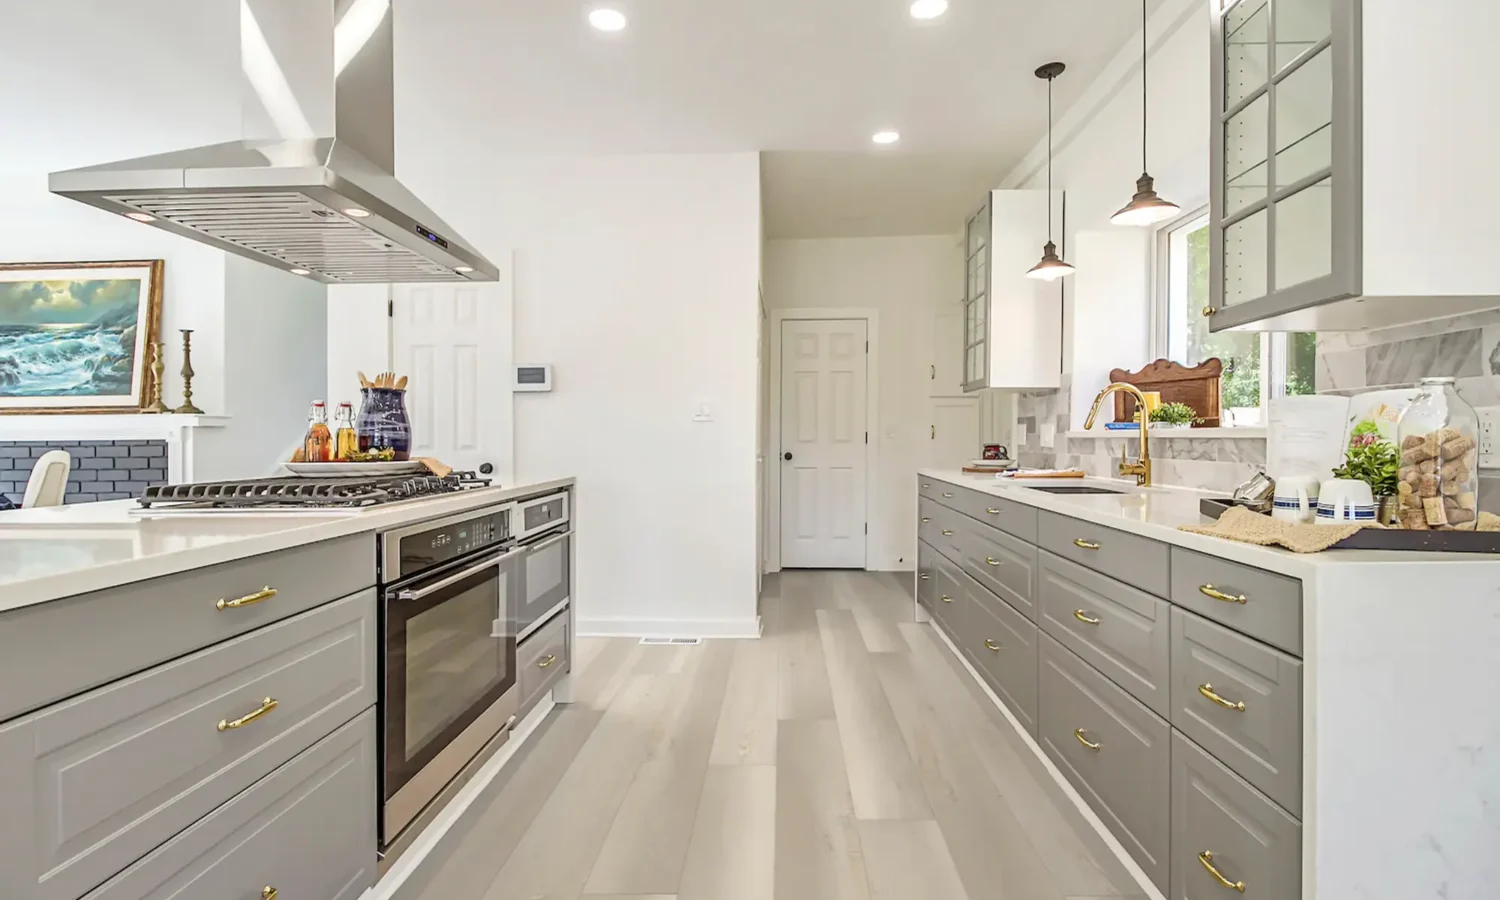
Staring at a stack of vinyl planks in your living room, wondering if you’ve bitten off more than you can chew? You’re not alone. Learning how to install vinyl plank flooring yourself is one of those home projects that sounds intimidating until you actually get your hands on the material — then it turns out to be way more forgiving than tile or hardwood ever was.
I’ve helped a few friends tackle this over the years, and the honest truth is: if you can use a utility knife and read a tape measure, you can do this. It won’t be perfect on your first plank. That’s fine. Nobody’s is.
This guide walks through the whole process, start to finish, plus a few things I wish someone had told me before my first attempt.
What You Need Before You Start
You’ll need vinyl planks (with 5-10% extra for cuts and waste), underlayment if it’s not pre-attached, a utility knife, tapping block, spacers, tape measure, and a straightedge — most of this is available at any hardware store for under ₹3,000 total.
Let’s get specific about the tool list, because half-assembling your kit halfway through the job is a special kind of annoying.
Essential tools:
- Utility knife (sharp — a dull blade will fray the edges instead of cutting clean)
- Tapping block and rubber mallet
- Tape measure and pencil
- Spacers (⅜ inch or so, for expansion gaps)
- Straightedge or T-square for marking cuts
- Pull bar for tight corners near walls
Materials:
- Vinyl planks — click-lock (LVT/LVP) is the easiest for DIY, way more forgiving than glue-down
- Underlayment, unless your planks come with it pre-attached
- Transition strips for doorways or where flooring meets another surface
Quick note: don’t buy exactly the square footage of your room. Order at least 10% extra. Cuts, mistakes, and future repairs will eat into that buffer fast, and dye lots between batches can vary slightly if you have to reorder later.
Preparing the Subfloor
Your subfloor needs to be clean, dry, and flat — within about 3mm over a 2-meter span — or your vinyl planks will telegraph every bump and dip in the floor underneath, sometimes even causing the click-lock seams to pop apart over time.
This step gets skipped more than any other, and it’s the one that comes back to bite people hardest.
Start by removing the old flooring, baseboards, and any staples or nails left behind. Sweep thoroughly — grit under vinyl planks is basically sandpaper waiting to scratch through the wear layer.
Check for flatness using a long straightedge or level. Low spots need a self-leveling compound. High spots — old adhesive ridges, uneven concrete — need to be ground down or sanded flat.
If you’re going over concrete, check for moisture. A simple plastic sheet taped down overnight (the “plastic sheet test”) will show condensation if there’s a moisture problem underneath. Skip this at your own risk — moisture trapped under vinyl can lead to mold or the planks lifting within a year or two.
Acclimating the Planks
Vinyl planks need to sit in the room where they’ll be installed for 48-72 hours before installation, letting them adjust to the room’s temperature and humidity — skipping this step is one of the most common reasons planks buckle or gap after installation.
I know it’s tempting to rip open the boxes and get started the same day. Don’t. Vinyl expands and contracts with temperature more than people expect, and installing it cold (literally, straight from a delivery truck) can cause gaps to show up weeks later.
Just stack the boxes flat in the room, open the tops slightly for airflow, and let them sit. Boring advice, I know. But it’s the boring stuff that actually prevents callbacks.
Step-by-Step Installation Process
Here’s where it actually gets satisfying — watching a bare subfloor slowly turn into a finished floor is genuinely one of the more rewarding parts of any DIY renovation.
- Lay the underlayment (if not pre-attached) — roll it out, trim to fit, and tape seams so it doesn’t shift underfoot.
- Plan your starting wall — usually the longest, straightest wall in the room, working away from the main entry point so seams aren’t the first thing you see walking in.
- Dry-fit the first row without locking planks in place, just to check spacing and confirm your cut plan.
- Install the first row, using spacers along the wall to maintain your expansion gap — this matters more than people think, so don’t skip it.
- Stagger your seams — offset each row by at least 15-20cm from the row before, so seams don’t line up in a repeating pattern (this also affects structural stability, not just looks).
- Click and tap each plank into place using the tapping block, working row by row across the room.
- Cut planks for edges and doorways using your utility knife and straightedge — score, snap, and trim as needed.
- Install the last row, using a pull bar if there’s not enough room to tap normally near the wall.
- Remove spacers and install transition strips and baseboards once the whole floor is down.
Has this ever happened to you on a DIY project — you rush the last 10% because you’re tired of the process? Don’t do that here. The last row and corners are where sloppy work shows up most.
Common Mistakes Beginners Make
Skipping the expansion gap is the single most common mistake — vinyl plank flooring needs roughly 6-10mm of space around the room’s perimeter to expand and contract with temperature changes without buckling.
A few others I’ve genuinely seen happen, more than once:
- Not staggering seams enough. Rows that line up too closely look repetitive and weaken the overall structure of the floor.
- Rushing the subfloor prep. This is the boring part, sure, but it’s also the part that determines whether your floor looks good in six months or has visible dips.
- Using a dull blade. Cuts get ragged, edges fray, and you end up fighting the material instead of working with it.
- Ignoring the acclimation period because you’re excited to finish the room in a weekend. Understandable. Still a mistake.
- Forgetting transition strips at doorways, which leaves an unfinished edge and a tripping hazard.
I’ll admit — I used to think the expansion gap advice was overblown, until I saw a friend’s floor buckle along one wall about four months after installation because he’d pushed the planks flush against the skirting. Learned that one secondhand, thankfully.
Tools and Techniques for Clean Cuts
Getting clean cuts on vinyl plank flooring comes down to a sharp utility knife, a solid straightedge, and the score-and-snap technique — score deeply along your line, then bend the plank away from the cut to snap it cleanly along the scored edge.
For straight cuts, this method works well every time. For notches around doorframes or pipes, you’ll need a jigsaw or a coping saw for more control on curved or irregular shapes.
A tip that saved me a lot of wasted material: cut planks face-up when scoring, since that’s the side that shows, and any slight fraying from the blade tends to happen on the underside instead.
For doorframes specifically, an undercut saw makes clean work of trimming door casings so the plank can slide underneath, rather than cutting the plank to awkwardly fit around the frame.
[link to guide on flooring tools every DIYer should own here]
How Much Does DIY Vinyl Plank Installation Save You?
Installing vinyl plank flooring yourself typically saves 40-60% compared to professional installation, since labor usually makes up a significant chunk of total flooring cost — for a mid-sized room, that can mean saving ₹15,000-₹40,000 depending on room size and material grade.
Professional installation in most Indian cities runs somewhere around ₹35-₹80 per sq ft for labor alone, on top of material costs. For a 200 sq ft living room, that’s ₹7,000-₹16,000 just in labor you’d be doing yourself.
That said — and I say this as someone who generally encourages DIY — factor in your time and the risk of mistakes on your first attempt. If you’re doing a large, complex space with lots of angles, hiring a pro for at least the tricky sections isn’t a bad compromise.
[link to related guide comparing vinyl plank vs laminate flooring here]
Maintenance After Installation
Vinyl plank flooring is genuinely low-maintenance once it’s down — regular sweeping, occasional damp mopping, and avoiding standing water are pretty much all it needs to look good for 10-20 years.
A few small habits go a long way:
- Use felt pads under furniture legs to avoid scratching the wear layer.
- Wipe up spills promptly, even though vinyl is water-resistant — standing water at seams can still cause issues over time.
- Avoid harsh chemical cleaners; a pH-neutral cleaner is plenty for most day-to-day cleaning.
- Keep an eye on high-traffic areas near entryways, where grit tends to accumulate fastest.
Nothing complicated here, honestly. That’s part of why vinyl plank has gotten so popular over the last several years — it just doesn’t demand much once it’s installed correctly.
FAQs
Do I really need underlayment for vinyl plank flooring? It depends on the product — many vinyl planks come with underlayment pre-attached, in which case adding more isn’t necessary and can actually cause instability. Check your specific product’s spec sheet before assuming either way.
Can I install vinyl plank flooring over tile or existing flooring? Often yes, as long as the existing surface is flat, clean, and structurally sound — but check for tile grout lines deeper than about 3mm, since those can telegraph through over time and may need leveling first.
How long does it take to install vinyl plank flooring in an average room? For a straightforward 150-200 sq ft room, a beginner can usually finish in a single weekend — faster with experience, slower if the room has lots of corners, doorways, or irregular angles.
What’s the difference between click-lock and glue-down vinyl plank? Click-lock planks snap together without adhesive, making them far easier for DIY installation, while glue-down requires more precision and generally works better for high-moisture or commercial spaces.
Why is my vinyl plank flooring buckling after installation? Usually it’s either a missing expansion gap around the room’s perimeter, planks installed without proper acclimation, or moisture trapped underneath from an unaddressed subfloor issue.
Is vinyl plank flooring waterproof? Most modern vinyl plank (specifically rigid core/SPC types) is fully waterproof at the plank level, though water can still seep in at seams or edges if not sealed or installed correctly — good for kitchens and bathrooms, but installation quality still matters.
Conclusion
Installing vinyl plank flooring yourself isn’t complicated once you understand the basics — proper subfloor prep, acclimation time, and getting your expansion gaps right make the difference between a floor that lasts 15+ years and one that starts buckling within months. It’s a genuinely doable weekend project for most people, even without prior flooring experience.
Before you start, do that plastic sheet moisture test if you’re working over concrete, and order a bit more material than you think you need. Then set aside a full weekend, put on something you don’t mind getting a little dusty, and get started — your future self walking across that new floor will thank you.